MaternalMusing

A Personal Adventure Into Parenthood

Occupational Therapy: Daily Routine July 27, 2015

So I’ve just been throwing up all of these tools, activities and exercises for V’s fine motor development without any real structure as to how we actually do them in our day to day lives. I should be clear that we do not spend hours and hours a day doing these ‘games’ because A) V would be hella bored and B) I have a 10 month old who doesn’t appreciate that much free time. The reason we have so many different games and activities is so that we can switch it up every day without doing the same things for the next year or longer if that’s what V needs.

Realistically we do V’s Occupational Therapy activities 5-7 times a week. If we’re home on the weekend (and during the summer we are usually on the go!) we’ll take time the morning to do his games before we take on the rest of our plans. Every time we do his exercises it takes about 20-35 minutes, depending on V’s choices for the day and is divided up like so:

Category

Activity

Time (in mins)

Scissors

Card-stock Exercise

2

Straw

2

Putty Snake

2

Pre-Writing

Dot-To-Dot/Maze

5

Colouring

5

Pencil Grip/Object Manipulation/Finger Strength

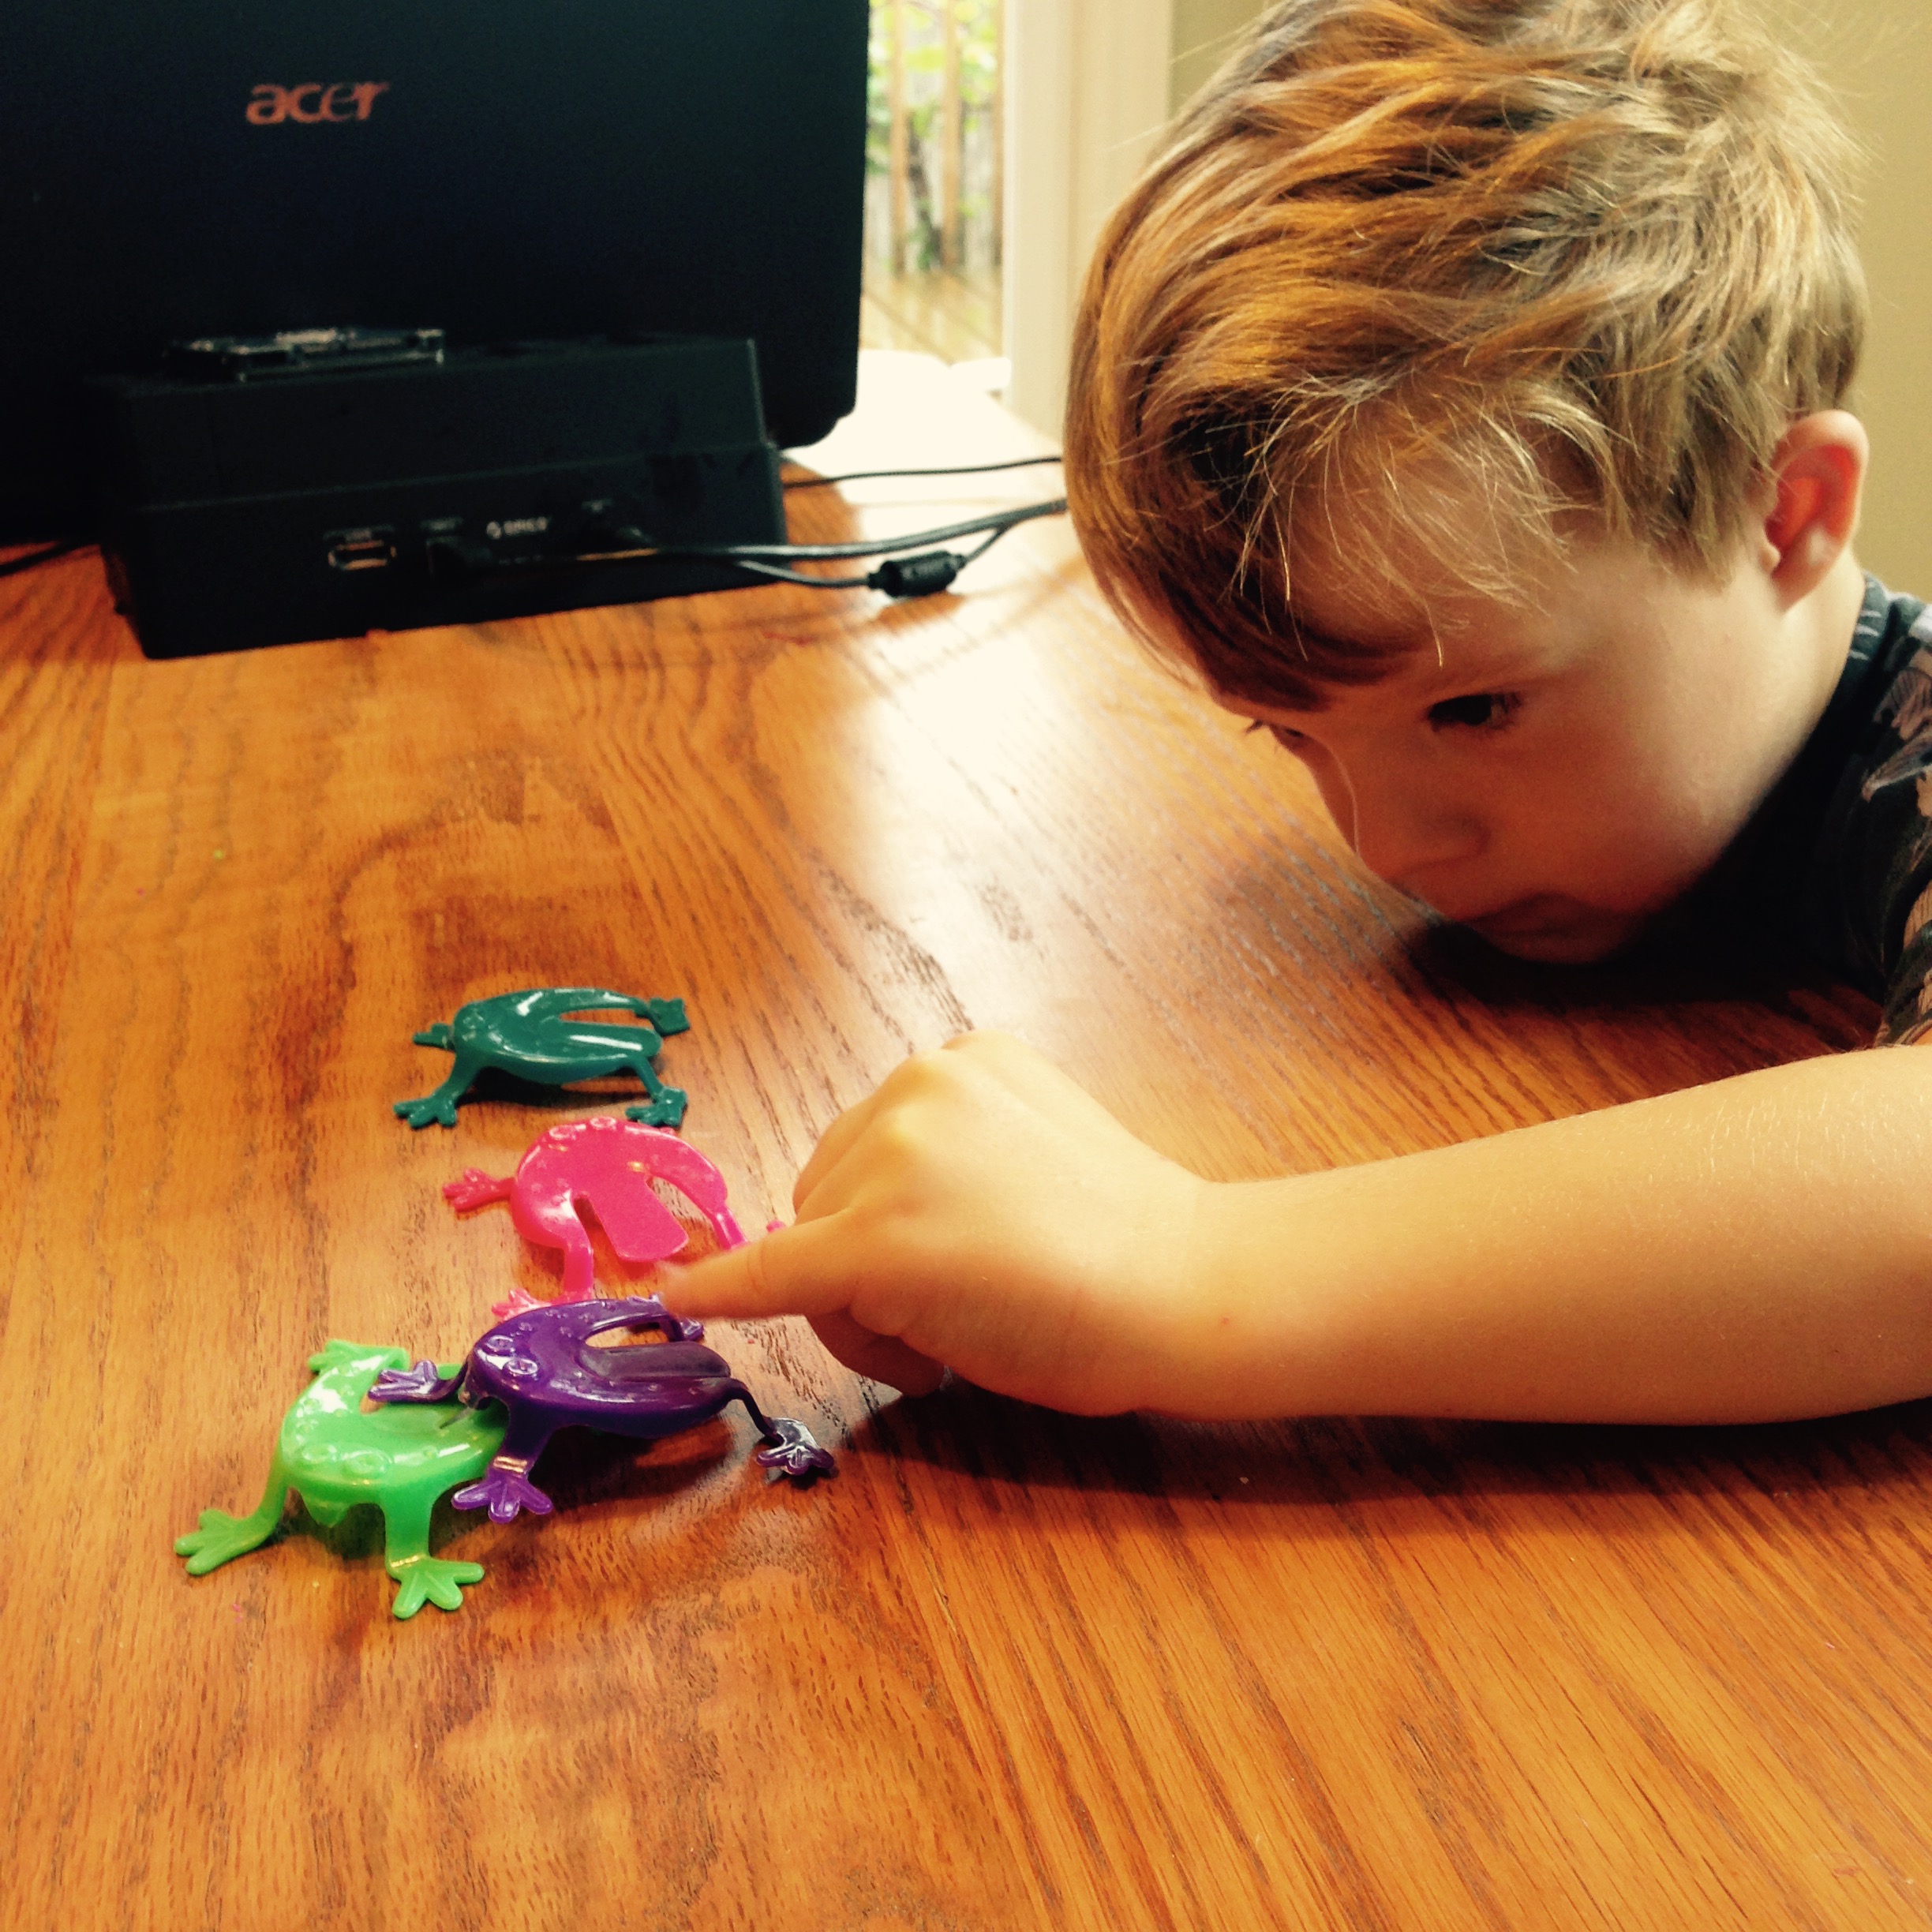
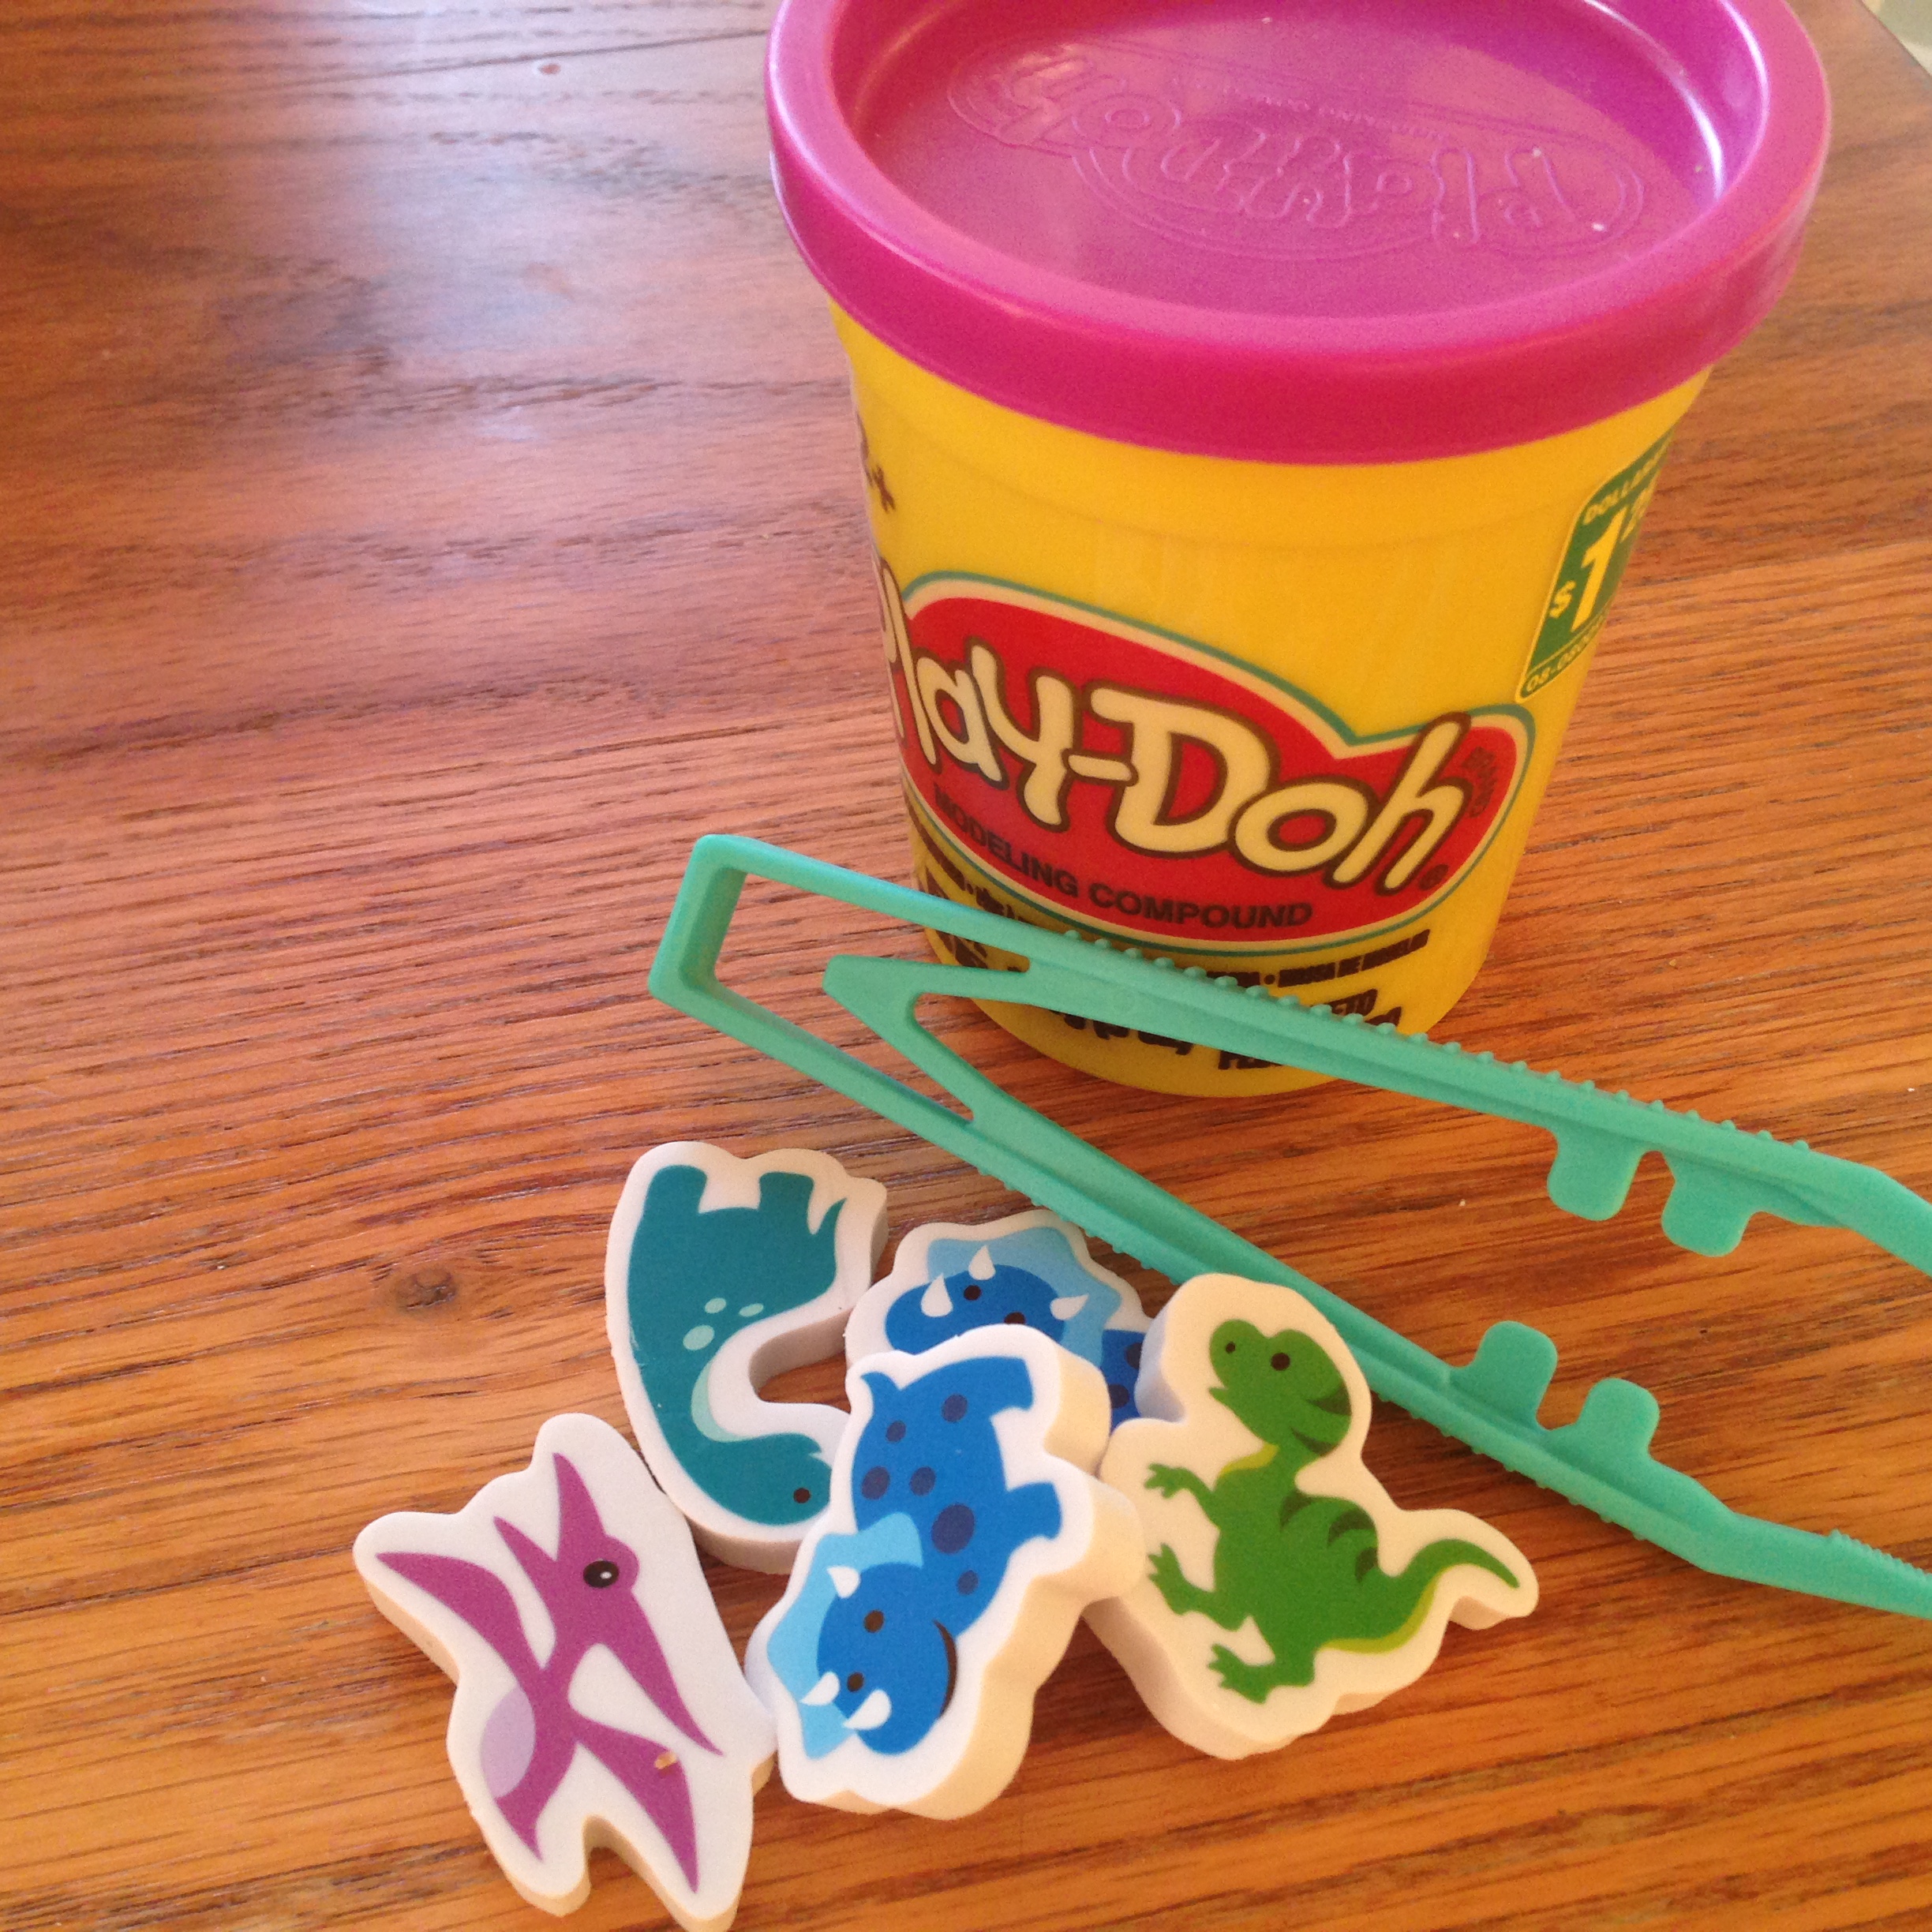
Any 3 activities of V’s Choice (dice, coins, leapfrog, etc)

5

5

5

The Scissors and Pre-writing activities are pretty set, however V can chose the activity book and page he wants to colour. The other activities he’s able to chose from our Occupational Therapy Kit. He gets pretty excited about all the options but definitely has his favourites! The only time I step in is if we’ve done the same activity for 3+ days in a row, so that he’s not just practising one individual set of skills, but is able to apply them across the board!

We do all of his activities in one big chunk of time in the morning because it’s when he’s got the most focused energy (any teacher will tell you all the most important lessons take place before lunch!) and his baby brother is happiest after breakfast! That way we can make other exciting plans for our afternoon and don’t have to worry about trying to come back and ‘finish up’ anything we left out.

A doesn't appreciate me taking 30 mins away from snuggle time to work with his big bro! V decided to join him in a show of solidarity...

A doesn’t appreciate me taking 30 mins away from snuggle time to work with his big bro! V decided to join him in a show of solidarity…

Typically, as a ‘reward’ for concentrating and doing well on his OT games, V and I will play a rousing round of Mario Party 10 on our WiiU. I know that it’s become a huge bone of contention with a lot of people; kids and screen time, however video games are actually a pretty awesome fine motor and hand/eye coordination activity! A round of Mario Party only takes about 30 mins and trust me, V has no idea he’s even practising moving his hands separately. We’ve tried playing actual board games but V has trouble picking up and moving the small pieces. It usually ends in frustration and an incredibly short attention span, so Mario it is!

There you have it: Our daily OT routine! Any feedback is appreciated and I’d love to hear how you spend your Occupational Therapy time!!


Occupational Therapy: Activity – Nuts & Bolts July 23, 2015

Filed under: Uncategorized — maternalmusing @ 2:42 pm
Tags: , , , , , , , , ,

Until we started having V evaluated for fine motor issues I never realized how those delays would affect his every day life! At (almost) 5 years old you don’t see it used much beyond writing and colouring but when you start some of the exercises you really see how these difficulties could extend to different areas as he grows older. For this next activity just imagine trying to put together some Ikea furniture if you couldn’t manipulate your hands/fingers correctly. And you thought assembly was already a pain the ‘you know what’!

Materials Needed:

2 Nuts

2 Bolts

Yup OT supplies can be purchased at the hardware store too!

Our Nuts and Bolts courtesy of Home Hardware!

Our Nuts and Bolts courtesy of Home Hardware!

Category:

Object Manipulation.

** Again these type of activities help V build the coordination and strength in his fingers.

Directions:

  1. Twist the bolts onto the nuts at two different points.

  2. Have your child use their non-dominant hand to hold the nut and the dominant (writing) hand to twist the bolt until it drops onto the table, making a loud bang!

    Twisting the bolt so it will drop onto the table top.

    Twisting the bolt so it will drop onto the table top.

  3. Repeat with the second nut & bolt set.

Notes:

  • If your child is really into the activity you can have them try to replace the bolt onto the nuts using the same hand motions.

  • Buy nuts and bolts with a wider width. They’re pretty cheap so as your child masters the task you can go buy thinner ones later on but to start you’ll want them to experience success!

  • V loves the surprise of the loud BANG! when the bolt hits the table. He thinks it’s hilarious and it also encourages him to try to hold the nut and bolt still over-top of the table as he works on turning the bolt.

    End Result!

    End Result!


Occupational Therapy: Tool Kit – Grotto Grip July 21, 2015

Filed under: Uncategorized — maternalmusing @ 3:23 pm
Tags: , , , , , , , , , ,

This is our second purchase from fdmt.ca. As I mentioned previous, most of V’s materials can come from discount or dollar stores but the Grotto Grip was another exception. Our OT recommended it because it attaches to his pencil, marker, crayon, etc to help him maintain a proper grip. There were a few grips she considered for him but did eventually decide that the three-point grip would be the most beneficial. She let us know that a few stores in our area did carry a version of this particular grip, but she’d found they didn’t work quite as well for children with fine motor issues and since we’d be ordering the scissors anyways….might as well add some more!

I was really excited to see how these worked with V because, as a general rule, he HATES to colour or draw. He would scribble as fast as he could, and then tell you he was done. If you wanted to pull out some colouring books his attention span would last for all of about 5 minutes before he was running around again. This may have led to some speculation in the past that he had behavioural issues, however now that he’s been properly diagnosed we know that it was purely frustration and boredom. How much do you like being force to do something you’re not good at or find incredibly hard? Can’t blame a pre-schooler for letting his feelings be known! Anyway, I was excited to try them out and see what type of change it would make in both his skills and his attitude.

Here is a highlight of what our pencil grip/pre-writing program looks like.

Material:

Grotto Grip

Stabilizer (dice, large bead, etc)

Grotto Grip! V prefers the blue but we also have black, green and purple!

Grotto Grip! V prefers the blue but we also have black, green and purple!

How It Works:

It slides onto the pencil/pen/marker etc near the tip and is essentially a plastic mold that, for all intents and purposes, forces, his hand into the proper grip with his thumb and forefinger ‘pinching’ the sides of the instrument and a cradle for his middle finger just below. We keep his other two ‘stabilizing’ fingers busy by holding the same object he would for any of our ‘pencil grasp’ OT exercises.

V also gets his choice of pencils for his daily activities. Choice choice and more choice is key!

V also gets his choice of pencils for his daily activities. Choice choice and more choice is key!

Exercises:

  1. Connect the Dots

V’s OT told us that ‘Connect The Dots’ puzzles and mazes are amazing activities for children with fine motor issues. They make them practice drawing firm, straight lines as well as constantly changing angles and adjusting their grip. V loves them so we’ll pick one a day to do together. It’s also a great way to practice his numbers and counting!

You can find this stuff everywhere if you're looking. This booklet is full of 'Connect the Dots' place mats!

You can find this stuff everywhere if you’re looking. This booklet is full of ‘Connect the Dots’ place mats!

  1. Colouring

V is also practising his grip by learning to colour inside the lines and switching his grip between different coloured pencils. We usually colour our ‘Connect The Dot’ picture once we’ve completed the first part! V has about 4 different colouring books in his OT kit so he gets to choose which one he’d like to do for that day.

All those colour choices!

All those colour choices!

  1. Pre-Writing Activities

V isn’t at this point yet since we’re still trying to get him practising his grip but we will eventually move into repeating the tracing/copy activities from his OT assessment. V will practice tracing and drawing simple finite shapes like X, T, O, squares, triangles etc.

Tracing lines between matching pictures and their shadows. Who doesn't love Transformers?!?

Tracing lines between matching pictures and their shadows. Who doesn’t love Transformers?!?

  1. Writing and Letter Tracing

Also not an exercise we’re doing right now but V will also soon start tracing his letters in workbooks and trying to write his own name! We have to keep the end goal in mind here!

Notes:

  • We purchased 4 Grotto Grips from the website. 2 are for home use and 2 will be sent to school, labelled, for V to use when they are doing any drawing/writing lessons there.
  • Make sure you continue to use a stabilizer for all of the writing activities. Just because your child has the grip for the first three fingers, they also need to learn to use the other two to help stabilize their hand as they go.
The Grotto Grip in action! You can't even see the stabilizer hidden under the outer two fingers now! He's learning to close that fist.

The Grotto Grip in action! You can’t even see the stabilizer hidden under the outer two fingers now! He’s learning to close that fist.

  • Encourage your child to use their other hand to hold the paper and move it along as they draw/write. Part of the writing skill is using their hands cooperatively!
  • Choice is important! Have a variety of workbooks/activities for your child. Again, it’s all about getting that buy in to produce the sense of control and the feeling of success!
This is a sample of our writing activity choices! Kids really appreciate that small sense of control so make sure you provide options.

This is a sample of our writing activity choices! Kids really appreciate that small sense of control so make sure you provide options.

  • Invest in some magnets! V loves the ability to display his work on the fridge when he does a new, exciting activity! Pride in their work is important especially when learning new skills.
Look at what I can do! He is so proud of his accomplishments.

Look at what I can do! He is so proud of his accomplishments.

The beginnings of our Refrigerator Art Gallery from our 'Artist in Residence'. Definitely need to buy more magnets... Although the Canadian bottle opener does add a certain 'Je ne sais quoi'...

The beginnings of our Refrigerator Art Gallery from our ‘Artist in Residence’. Definitely need to buy more magnets…
Although the Canadian bottle opener does add a certain ‘Je ne sais quoi’…

Results:

I can’t say enough great things about this tool! Even after 3-4 days of use I can already see a HUGE improvement in V’s grip and his abilities. He knows how to hold the pencil with confidence and is able to exert more pressure as he makes his marks. His lines are darker, straighter and more firm. He can also colour much close to the lines, tries to colour in smaller shapes and will actually sit and colour for more than 5 minutes at a time! He is rarely drop his stabilizer now and he looks forward to our craft time each day. As least from my end the Grotto Grip is highly recommended!!

I have never, in almost 5 years, seen V draw such straight, firm lines. I almost cried and I definitely sent out a picture text to Daddy.

I have never, in almost 5 years, seen V draw such straight, firm lines. I almost cried and I definitely sent out a picture text to Daddy.


Occupational Therapy: Tool Kit – Spring Loaded Scissors July 20, 2015

Filed under: Uncategorized — maternalmusing @ 3:06 pm
Tags: , , , , , , , , , , ,

We were given about 5 sheets of exercises to help develop V’s fine motor skills and these came with a fairly large shopping list of supplies we’d need in order to complete the tasks. Most things could be purchased at the Dollar Store but there were two notable exceptions: spring-loaded scissors and something called a ‘Grotto Grip’. These are items specifically made to help those with fine motor cutting and writing issues and we could order them from a Canadian website called FDMT – Educational Materials and Sensory Tools (www.fdmt.ca). The order was shipped incredibly quickly (ordered Fri, received the products the following Wed) and I’ll be highlighting both so you can see how they work in the treatment plan.

Item:

Spring-Loaded Scissors

Our fancy-shmancy new scissors!

Our fancy-shmancy new scissors!

How They Work:

The scissors look like basic primary school scissors. Not very sharp, small openings, etc. The big difference is that there is a curved piece of plastic on a hinge between the two loops. It can be moved up and down. When it is up, the scissors work like normal; open and close, just like a regular pair. When it is placed down between the two loops however, the plastic helps the scissors open and close in a spring-like action, hence the name! It helps V create the smooth cutting motion and builds the strength and muscle-memory in his hands. As he becomes more proficient and his hands more coordinated and strong, the plan is that he will eventually be able to open and close scissors on his own and will be able to use regular classroom scissors.

Our daily 'Cutting Skills' materials.

Our daily ‘Cutting Skills’ materials.

Exercises:

  1. Line Cutting:

Similar to the assessment cutting exercises we will draw thick, short black lines on a piece of card stock and have V cut along the lines until he reaches the smiley face. We make the lines thick so he can experience success by actually cutting along the line. As he progresses the lines will progressively get longer and thinner until he’s able to cut along a fine line like his peers. We are also starting with me holding the paper for him as he cuts both lines but we’ll gradually move to him ‘helping’ me hold the paper, them him holding it himself.

Results of our line cutting exercise! The lines are getting more smooth and a little more precise!

Results of our line cutting exercise! The lines are getting more smooth and a little more precise!

  1. Straw Cutting

V holds a plastic drinking straw in his left hand and uses his right hand and scissors to cut the straw into pieces. Sounds boring but we try to make it a game. I’ll ask him to cut me a big piece, small piece, ‘x’ number of pieces, a ‘sharp’ piece (cutting on an angle) etc. He really enjoys this one and you can use the pieces left at the end as a second fine motor activity by having your child thread them onto a shoelace/string.

Holding the straw and cutting it into different sized pieces...little boys love a good 'deconstruction' exercise!

Holding the straw and cutting it into different sized pieces…little boys love a good ‘deconstruction’ exercise!

Results of the straw cutting. Put them aside in a seperate bag or container to use for a shoe-lace threading fine motor exercise! Nothing wasted here!

Results of the straw cutting. Put them aside in a seperate bag or container to use for a shoe-lace threading fine motor exercise! Nothing wasted here!

  1. Play-doh/Therapy Putty Snake

I will roll a thick ‘snake’ of playdoh or therapy putty and have V cut it into different sized chunks. This helps him practice opening the scissors wide and making BIG cuts. It will usually take him 3-4 cuts to get through the roll and complete the section. Make sure your child doesn’t ‘cheat’ and try to use the scissors to pry the halves apart, rather than cut!

'Attacking' the Playdoh snake.

‘Attacking’ the Playdoh snake.

Notes:

  • We ordered two pairs from the website. One is for V to use at home and one will be for his classroom in Sept so that he’s able to use his ‘special’ scissors when he participates in lessons that involve cutting. They will be labelled with his name and for his use alone.
  • The scissors are right-handed. I’m sure you can find left-handed spring-loaded scissors but this is a right-handed world and the reality is that V will need to learn to manipulate them with his right hand. This is the only exercise that we work on his non-dominant hand.
  • Similar to every other activity, sometimes V let’s his grip slip or become twisted. Don’t worry if you need to ‘reset’ the grip before each exercise or even each cut. This is all practice to build the skill, it will take time!

Concern:

V doesn’t often show that he’s aware that he lacks a certain amount of control when he’s drawing, colouring or cutting. However since starting his OT he gets very upset when I hold the paper for him because he’s worried he’ll cut me. I have to spend a few minutes at the start of each session assuring him that he’ll do fine, he won’t cut all my fingers off and we’ll get through it. Make sure you don’t dismiss your child’s fears, they may sound a little bizarre to you but their imaginations run wild and they just need you to pump them up a bit and let them know it will all be fine in the end!

The face I get every time we're about to start cutting things up...still working on building up that confidence along with his fine motor skills.

The face I get every time we’re about to start cutting things up…still working on building up that confidence along with his fine motor skills.


Occupational Therapy: Activity – Leapfrog July 15, 2015

Filed under: Uncategorized — maternalmusing @ 10:25 am

You’d be surprised how many dollar store items can be useful for building up fine motor skills! I know I was…and grateful since it makes building your ‘at home’ kit pretty cheap. V loves this game and it’s based solely on a party favour you can get at most dollar or discount stores.

Materials Needed:

Leapfrog plastic toys (found in the party favour section of your local dollar/discount store)

Cheap and Cheerful!

Cheap and Cheerful!

Category:

Finger Strength/Coordination

N.B. These type of activities will help V build up strength in his individual fingers and assist him in practising using each finger individually!

Directions:

  1. Line up 4 frogs to start the ‘race’.

    The starting lineup!

    The starting lineup!

  2. Have your child choose which finger and frog they’d like to start with. Choice and control are important!
  3. Have them use their chosen finger to press down the frog, causing it to ‘leap’ forward.

    Pointer finger

    Pointer finger

  4. Repeat using all four fingers on the dominant (writing) hand until each frog has been used. Which one won?!?
    Middle finger.

    Middle finger.

    Ring finger

    Ring finger

    Pinky finger. This one is definitely the hardest!

    Pinky finger. This one is definitely the hardest!

Notes:

  • V will often try to use the same fingers on each frog if he can get away with it. Remind your child that they need to try each finger to see which one ‘wins’
  • Make sure the frog is actually ‘leaping’ as opposed to just being pushed along. You’re looking for purposeful movements rather than accidental pushes.
  • Most of the packages come with frogs of different colours, if yours doesn’t however use stickers or other decorations to differentiate them. This could be a great arts and crafts activity!
 

Occupational Therapy: Activity – Dice July 14, 2015

Filed under: Uncategorized — maternalmusing @ 3:06 pm

Another way to get the buy in from your child and encourage them to participate in your Occupational Therapy games is to focus on things they enjoy. V loves numbers…thank you Team UmiZoomi! He also loves playing Mario Party on the WiiU so he’s very familiar with the concept of dice and luckily this next activity involves a few of them! If your child struggles with numeracy there is an alternate version suggested in the notes that came from V’s OT worksheets.

Materials Needed:

Dice x 2 (one for your child, one for you)

Our Dice container! V loves being able to choose from the different colours. They're more fun than plain black/white

Our Dice container! V loves being able to choose from the different colours. They’re more fun than plain black/white

Category:

Object Manipulation

N.B These exercises will help V learn to use his fingers cooperatively to move and examine small objects. Right now he typically uses his palm or both hands to show you something held in his hand.

Directions:

  1. Have your child place a dice in the palm of their hand.
  2. Ask your child to show you a number on the dice and demonstrate with your own to show them exactly what you’re looking for. Reinforcement is always good! Verbal and visual cues used together will make sure they understand what is asked.
  3. Have your child bring the dice to the tips of their fingers and use them to manipulate the dice so the desired number is showing on the forward surface.
Number 1!

Number 1!

4. Repeat several times so the child gets used to maneuvering the dice.

Notes:

  • If your child isn’t comfortable counting or with numbers you can place stickers on the sides of the dice and ask them to show you the images/colours.
  • Make sure you vary your questions. Repeating ‘Now show me ‘x’.’ isn’t all that fun for you or your child! Try asking them to show you their favourite number, their age, how many cookies they had for snack etc.
  • Make sure the desired number/picture is showing clearly on the forward surface! I find V starts to try and ‘cheat’ a bit, only showing me the edge of the number, so he doesn’t have to move his fingers quite as much.
  • If your child drops the dice during the course of the exercise have them start the grip over again, bringing the dice from their palm to their fingertips. Practice makes progress!
 

Occupational Therapy: Activity #1 – Dinosaurs Stuck in the Ooze!

Filed under: Uncategorized — maternalmusing @ 10:10 am
Tags: , , , , , , , , , , ,

This is V’s favourite ‘game’ at the moment so I thought it would be a good place to start! We chose to use purple Playdoh ‘ooze’ and dinosaur erasers from the dollar store but make sure you choose something your child would be excited about if you try this at home! Our occupational therapist says she often uses animals stuck in ‘mud’.

Materials Needed:

Tweezers

Small Objects (erasers, small plastic toys, etc)

Playdoh or Therapy Putty

Stabilizer (large bead, dice, etc)

Our 'Dinosaurs' game! No stabilizer in this picture because we usually just grab one of the dice from another kit.

Our ‘Dinosaurs’ game! No stabilizer in this picture because we usually just grab one of the dice from another kit.

Category:

Pencil Grasp

N.B. – ‘Pencil Grasp’ exercises will help V learn to individually control the separate parts of his hand. When you write you need to use the outer fingers to stabilize your hand and the thumb and inner fingers to grip the pencil and write. V uses his whole hand together as one grasp so he isn’t able to control the pencil to create any real forms.

Directions:

1. Shape the putty or playdoh into a thick, flat blob.

Our purple 'ooze'

Our purple ‘ooze’

2. Stick the small objects into the putty/dough so they are approximately halfway submerged.

Dinosaurs are stuck! Oh no!

Dinosaurs are stuck! Oh no!

3. Help your child get a firm grasp of the stabilizer in their dominant (writing) hand. It should be held in the palm, almost hidden by the pinky and ring fingers. This helps them get used to not using those fingers in their pencil grasp.

Stabilizer (dice) hidden in his palm under the outer two fingers.

Stabilizer (dice) hidden in his palm under the outer two fingers.

4. Help your child get a firm grasp of the tweezers. Thumb on the bottom, two pointer and middle finger on the top. Practice squeezing a few times so they get used to the action.

Tweezer grip! Ready for some dinosaur rescue!

Tweezer grip! Ready for some dinosaur rescue!

5. Have your child ‘rescue’ the objects from the putty by pulling them out with the tweezers. They will need to have a firm grasp and pinch motion to pull them out.

We're going in!

We’re going in!

6. Have your child set each ‘rescued’ object on the table with a firm, purposeful motion. You need to see a controlled release rather than an accidental ‘drop’.

The 'controlled release': I ask V to put all the dinosaurs face up, which seems to help!

The ‘controlled release’: I ask V to put all the dinosaurs face up, which seems to help!

7. Repeat until all the objects are ‘rescued’.

Done! Another successful rescue mission!

Done! Another successful rescue mission!

Notes:

  • Make sure that your child’s grip on the tweezers is correct before each ‘rescue’. V tends to let the tweezers slip into the crevice between his thumb and pointer finger and goes back to using his palm for control rather than the fingers. We ‘reset’ each time.
  • Remind your child that they should only be using their dominant hand to do this exercise. It’s so tempting to add that second hand but it will decrease the effectiveness of the activity!
  • Don’t be afraid to make your child repeat a rescue if they don’t use the correct grip/drop their stabilizer/drop the object on the table. This exercise is to help them build their coordination, grip and strength and doing it incorrectly is not the best use of your time or theirs!
  • Start with a smaller number of objects and slowly work the number up. Again the key is for your child to experience success and when trying something new they can get bored/tired easily!
 

Occupational Therapy: Step Two – The Diagnosis July 13, 2015

Filed under: Uncategorized — maternalmusing @ 5:34 pm

After our initial visit with all the cutting and drawing we made a follow up appointment with the therapist for the following week so that she’d be able to lay out our treatment plan for V. We wanted to make the most of our summer holidays, while I was still on mat leave, to make up any ground we could before he headed back to the classroom in Sept and I headed back to work!

V absolutely loved this visit…it was all about ‘games’! The therapist explained that all of his exercises needed to be fun, motivational, and most importantly he needed to have a buy in and experience success. Nothing will have a 4 year old checking out faster than if they think it’s boring and they can’t do it.

I won’t get into all the details on the different exercises that we practised during this appointment because I’ll be adding each individual one as it’s own separate blog post; including pictures and a materials list. Keep in mind I am not the Occupational Therapist, I’m only sharing what we’re doing for V on the recommendation of his OT, teachers and doctors.

What we did leave this appointment with was some labels for what the OT thought might be the underlying causes of V’s fine and gross motor delays. I’ll highlight the two big ones here.

Poor Motor Planning:

What this means is that V can watch a teacher, therapist, or peer perform a new, unfamiliar task but he has trouble breaking it down into steps and repeating them himself. He can’t quite translate all that sensory information into a plan on how to get things done. He will often drop things, stumble, trip etc when he’s trying things for the first few times. To help him overcome this we need to take extra time to teach him and repeat more often. For example, when he participates in a song or dance performance at school we should obtain the music and actions from the teacher before hand and help him practice at home.

Poor Motor Planning and rock climbing probably weren't the best mix now that we think on it. He did get about 1/3rd of the way up the wall though!

Poor Motor Planning and rock climbing probably weren’t the best mix now that we think on it. He did get about 1/3rd of the way up the wall though!

Luckily this skill can be taught over time and it will be generalized to different scenarios he’ll come across in school, home, and life!

Low Muscle Tone:

V is a tiny kid. Seriously. He’s almost 5 years old and his favourite pair of swim shorts is a pair of size 18 month trunks. And they fit. Well! He is all skinny arms and long legs at a whopping 29 lbs and 39 inches tall. Not a lot of meat on those bones!

This should have been a good indicator that V hasn’t exactly packed on the muscles and the OT indicated that he does show signs of poor muscle tone. If you watch him do pretty much anything you can see that his joints flex to the point of ‘double-joint’edness and he doesn’t exhibit a lot of stability or stamina. A lot of the exercises that we’ll be doing both for OT and Physio will focus on building muscle tone and control.

Skinny Mr. V trying to work his Nerf water gun! Everything is easier with two hands.

Skinny Mr. V trying to work his Nerf water gun! Everything is easier with two hands.

As a fun FYI this is not the first time we’ve been told that V might have issues with muscle tone. I remember the NICU physiotherapist having some concerns when he was still in the Level 3 NICU. He was a pretty floppy baby but I assumed that issue was behind us when he started to sit, crawl and walk. Guess I shouldn’t have been so hasty on that one!

We left the appointment with several sheets of exercises plus a shopping list for the website of an excellent Canadian sensory tools company (FDMT: Educational Materials and Sensory Tools – FDMT.ca) and the Dollar Store. We are spending at least 15 minutes a day with V on fine motor activities 5-7 days a week. Our goal is for him to be able to control scissors, have a consistent pencil grip and rudimentary pre-writing skills by the start of the school year. I’ll be highlighting our home Occupational Therapy box with it’s individual ‘games’ for V in the next few posts. Feel free to ask any questions you’d like and I’ll try my best to answer them, at least from our experiences and perspective. Wish us luck!

Preview of our 'At Home' Occupational Therapy Kit! Excited? We sure are!

Preview of our ‘At Home’ Occupational Therapy Kit! Excited? We sure are!


Occupational Therapy: Step One – The Assessment

After requesting an Occupational Therapy consult through our family health team in early June we finally got the call with about two weeks remaining in the school year. I was pretty pumped to get a jump on V’s needs for Senior Kindergarten and the therapist seemed very thorough and kind, even on the phone!

She started by asking me what our concerns were with V and why we’d requested the consult. She listened actively which was a relief, since I originally felt pretty brushed off by our family physician. The therapist immediately recommended that I contact the school and request that V had Physiotherapy set up for Sept, as soon as school starts.

Her reasoning was two-fold:

One – V falls a lot, and since the school is aware that this happens, it is a liability for them if he falls, injures himself and they’ve done nothing to assist him. PT will help his gross motor development and hopefully have him running, jumping and generally keeping up with his peers in the playground/gym class.

Two – The wait list for Physio is much MUCH shorter than the list for Occupational Therapy in the school system. There are fewer students with gross motor development needs and teachers are less aware that Physio is even an option in their classroom. As adults we typically only consider Physio in the context of injuries and rarely in relation to developmental issues.

V’s teacher is an amazing educator and truly cares for her students. I let her know the Occupational Therapists recommendation and the paperwork for V’s Physio in the fall had been submitted and approved by the end of the week! One thing check off our list for back to school!

The Occupational Therapist then scheduled our first visit so that she was able to evaluate V’s skills in person. She let us know that she would likely need two visits; one to evaluate and one to impart a treatment plan, and they would be about an hour apiece.

We prepped V for the appointment by letting him know we’d be going to see a fun ‘doctor’ who was going to play some games with him. 4 year olds don’t distinguish between different medical professionals and since it was at our dr’s office…they’re all doctors in there! He was excited to go visit.

At the first appointment the therapist did several exercises with V to evaluate his hand strength, coordination and writing abilities. Some of the activities were:

Cutting:

  • Cutting along a straight line (about half a page in length) with basic school scissors. She had him try to hold the paper and cut, and then she held the paper while he cut.
  • Cutting around a right-angled corner with basic school scissors. She held the paper, then had him hold it, then she used coloured markers to mark where each of his fingers should be when holding the paper while he cut.
Scissors worksheet example. Before the exercise.

Scissors worksheet example. Before the exercise.

Trying to coordinate the scissors and his holding hand to cut a straight line.

Trying to coordinate the scissors and his holding hand to cut a straight line. Also note that although he is left handed, he manipulates the scissors with his right hand.

End result of the scissors exercise. You can see that he can't cut a smooth or straight line right now.

End result of the scissors exercise. You can see that he can’t cut a smooth or straight line right now.

Writing:0

  • Tracing between two lines in different shapes using a pencil. He had to trace between two straight lines, two lines with sharp V-like corners, and two wavy lines.
  • Tracing on top of lines using a pencil. Again she had him trace straight, sharp curves and wavy lines.
  • Pre-writing exercise by copying basic shapes: cross, x, square, circle, triangle.
  • Copying the writing of his own name. She had him trace over-top of her writing and then try to copy it by himself.
Line tracing exercise. The large gap between the lines is because we want him to experience success. The width will decrease over time.

Line tracing exercise. The large gap between the lines is because we want him to experience success. The width will decrease over time.

Note the bizarre, fist-type grip he uses because his fingers aren't strong or coordinated enough yet.

Note the bizarre, fist-type grip he uses because his fingers aren’t strong or coordinated enough yet.

End result of the lines exercise. Notice there isn't a lot of movement if he can help it.

End result of the lines exercise. Notice there isn’t a lot of movement if he can help it.

At the end of the exercises she gave us a quick evaluation of what she’d seen. In V’s case she let us know that he has minimal fine motor skills and we’ll need to start right at square one to help him build up to where he needs to be by the time he enters Grade 1.

Pre-writing exercise. V needs to copy the shapes as close as he can in the boxes to the right.

Pre-writing exercise. V needs to copy the shapes as close as he can in the boxes to the right.

Examining his work. This one frustrates him the most.

Examining his work. This one frustrates him the most.

Pre-writing results. Notice that his shapes lack definition and tend to be pretty similar. They will improve as he learns to stabilize and control his pencil.

Pre-writing results. Notice that his shapes lack definition and tend to be pretty similar. They will improve as he learns to stabilize and control his pencil.

V has little to no co-ordination in his hands. He struggles to even open and close the scissors in a cutting motion, let alone have the ability to cut along a line or co-ordinate both hands to hold and cut. V is also left-handed but cuts with his right. The OT told us this is very common in school aged kids because there are rarely, if ever, left-handed scissors consistently available in the classroom. We aren’t going to try to modify this…he’ll be a left-handed writer, and right-handed scissor wielder!

Writing exercise. He needs to trace his name and then try to copy it independently.

Writing exercise. He needs to trace his name and then try to copy it independently.

Funny grip again! He really enjoys trying to write his name though. He's almost got the V down.

Funny grip again! He really enjoys trying to write his name though. He’s almost got the V down.

Writing results. We definitely have a few steps to go before he's able to write legibly.

Writing results. We definitely have a few steps to go before he’s able to write legibly.

As for writing he has no consistent pencil grip. He alternates from a fist, to a modified three-point grasp, to a bizarre grasp stabilized by his middle finger along the length of the pencil. This stems from the fact that he can’t coordinate his fingers so that the far fingers are stabilizing his hand and the inner fingers and thumb manipulate the pencil. His whole hand works as one whole grasp. We’ll need to help him learn to co-ordinate his fingers and find a proper grasp before we can even move into tracing and pre-writing. The goal is to have him writing his name at the end of the year. There is no rushing this type of thing. We want him to learn consistency and co-ordination, not shortcuts to create the appearance of him learning.


A Short PSA On Parking Lots: Don’t be a Jerk! July 12, 2015

Filed under: Uncategorized — maternalmusing @ 4:03 pm
Tags: , , , , , , , , , ,

Over the past 4, almost 5, years I’ve witnessed some pretty blatant disregard for pregnant women and families with young children in parking lots across our fair province. For the sake of this blog, let’s review; most parking lots in Ontario, and I think many in North America, now offer three types of spots.

  1. ‘Regular’ parking spots: take up the majority of the lot, evenly spaced, clearly marked with yellow/white lines that encourage people to park their cars in an orderly fashion.
  2. ‘Handicap’ parking spaces: typically close to the entrances and wide enough to accommodate assisted mobility devices. They are clearly marked with both a bright blue sign and blue marking on the pavement. These are available to those with disabilities who have acquired the appropriate pass, displayed clearly on their dash.
One of many signs to indicate a 'Handicapped' parking spot.

One of many signs to indicate a ‘Handicapped’ parking spot.

Now we also have one more type of parking space that is starting to make an appearance in our local lots:

  1. The ‘Expectant Mothers/Young families’ parking spots. These are typically next to the ‘Handicap’ spots, close to the door, slightly wider and marked with cute signs sporting strollers or storks.
Pregnant and Small Family Spot sign. Please become familiar with and respect this sign!

Pregnant and Small Family Spot sign. Please become familiar with and respect this sign!

As a parent with two kids, I appreciate the fact that retailers understand that leaving the house with kids and all of their accessories is a daunting task. It’s hard when the only available spot is at the far end of a parking lot and you have to work your way to the doors through insane, careless drivers, while holding the hands of a curious toddler jumping his way along and toting 20 lbs of baby in an infant seat which is doing it’s best to pull your shoulder from it’s socket with every step. Having a shorter trek to the shopping carts, where you can corral your offspring, makes the trip infinitely more pleasant and I’m always pleased when we manage to snag one of those coveted spaces! It’s definitely a letdown when you see them all full up but we can’t be winners every time!

Now, my annoyance is this, child-free people who cut you off like it’s the last lap in Mario Kart in order to grab the spot for themselves! It makes me bust out into an internal monologue of ‘REALLY?!?’ a la SNL Weekend Update. I know that it’s raining outside, or hot, or you’re in a hurry but let me tell you, it’s much easier for you to drag your lazy butt the 10 extra feet from the next available spot, than it is for me, my husband and two kids to do it.

It really took the cake when people would use the short-term, 10 min max, ‘Labour and Delivery’ drop off spots in front of the hospital to wait for various friends and family. I observed many vehicles there for half an hour or more last summer and rarely saw any pregnant women exit any of the cars. Women who have delivered…just take a minute to let that one sink in. Can you imagine walking from the next lot over while experiencing contractions? Good times right?!? No.

Personally, A and I only park in those spots if all 4 of us are going into the store. If we’re shopping without the boys, that spot is not for us. Honestly even if we just bring V we’ll walk from the next available parking space because we KNOW someone else needs it more.

Topping my personal list of ‘worst offenders’ is a lady who almost sideswiped us to swing into the spot ahead of us. This was in ankle deep snow, with a tiny 4 year old and infant in his carrier, all while I was still sporting my nephrostomy tube. Oh you just needed to grab some dip for that dinner party you’re headed to? That’s fine…I don’t mind carrying two kids while slogging through slush and snow, trying not to catch my medical tubing on the infant car seat. We’re cool. I seriously debated hunting that woman down in the store and giving her a piece of my mind but managed to (grudgingly) let it go.

It is probably my number one pet peeve when we’re in a lot these days, when I see people who clearly have no kids, grabbing the spots because they don’t feel like walking the extra few feet. Sadly I think it’s just a sign of the times that people just don’t care about anyone other than themselves. I don’t believe people take the spots to be malicious…it’s just that they can’t see beyond their own wants at the time. I’d love to carry passive aggressive ‘spot shaming’ cards on me to leave on windshields but let’s be honest…that type of person probably wouldn’t care anyways.

So as a public service announcement please be courteous when you park! There may be no-one lined up behind you for the spot at the time but who knows what will happen 5 minutes down the line. Think of the worn-out moms and dads who just want to get in and get out with their overtired kids before you snake a spot just so your hair won’t get frizzy in the rain.